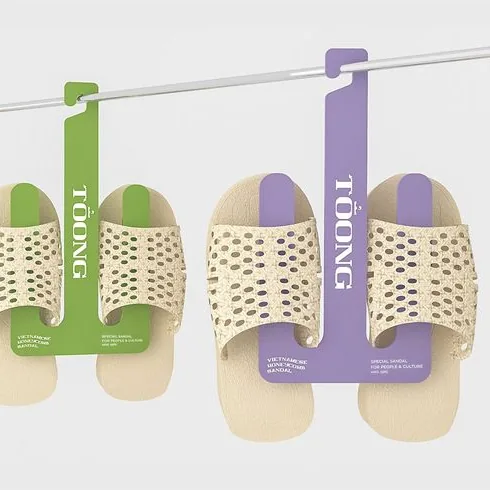


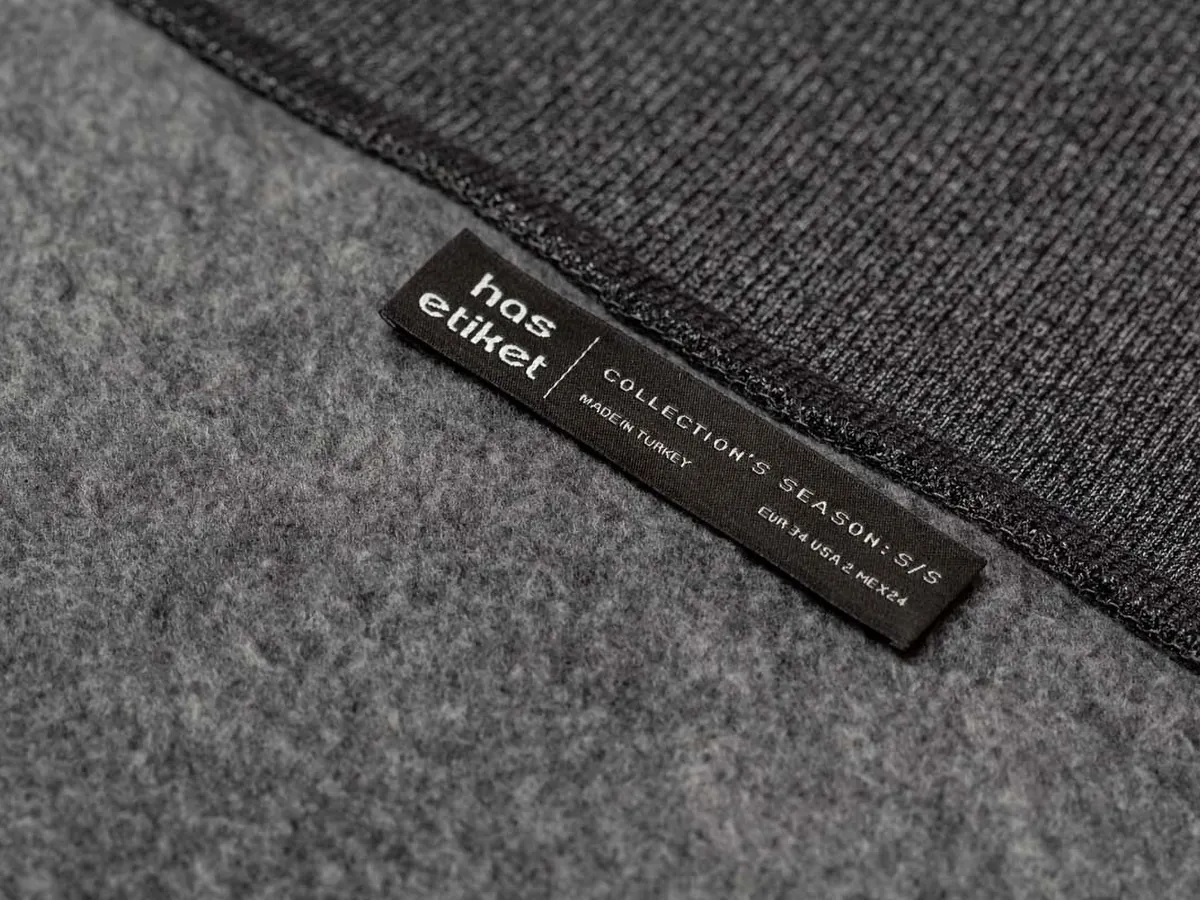
From die line to rail.
Four steps from your file to the pair on your rail.
- 01
A die line.
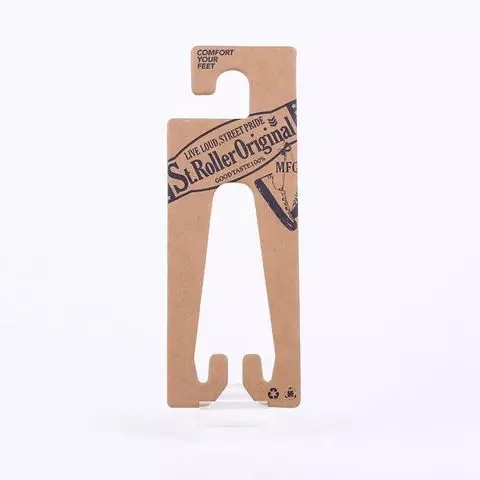
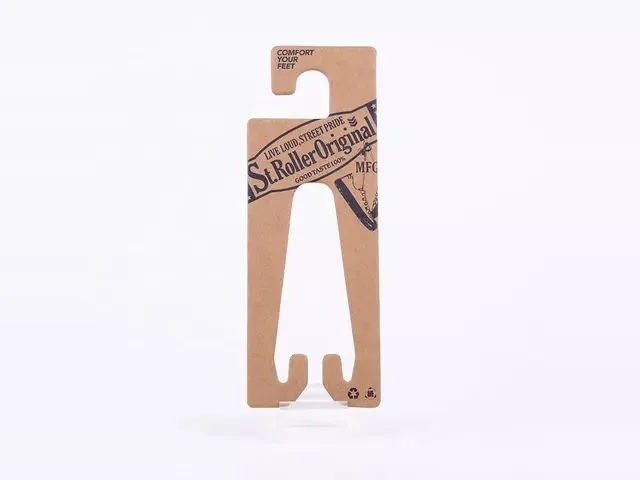
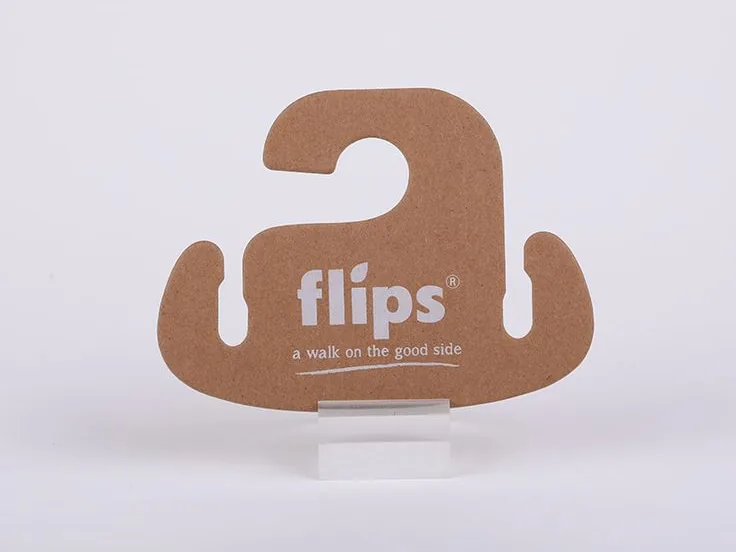
The hanger is drawn to your shoes, with its hook, panel, prongs and print fixed. You approve it before anything is made.
- 02
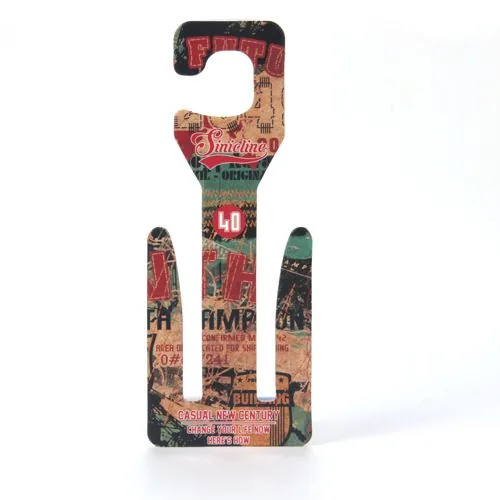
Printed as a range.
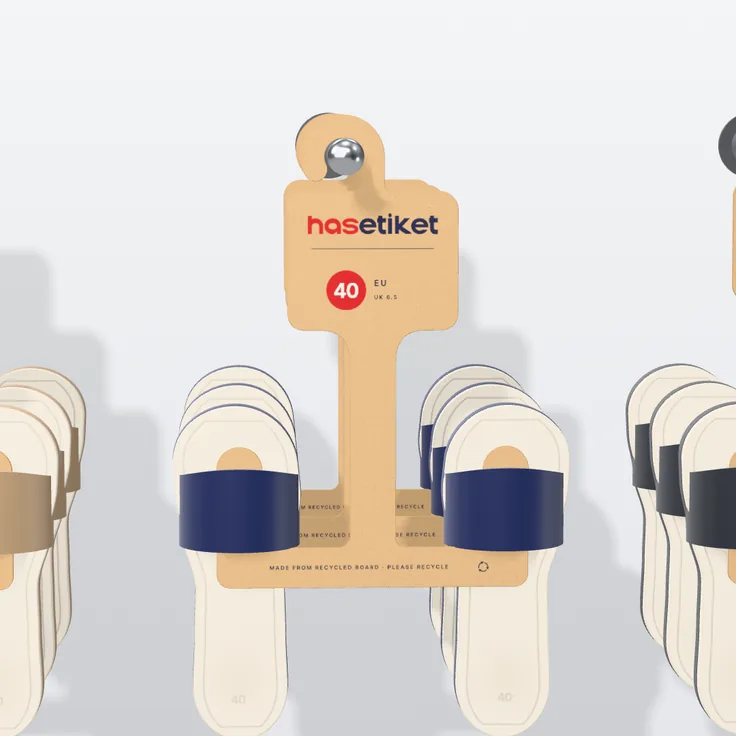
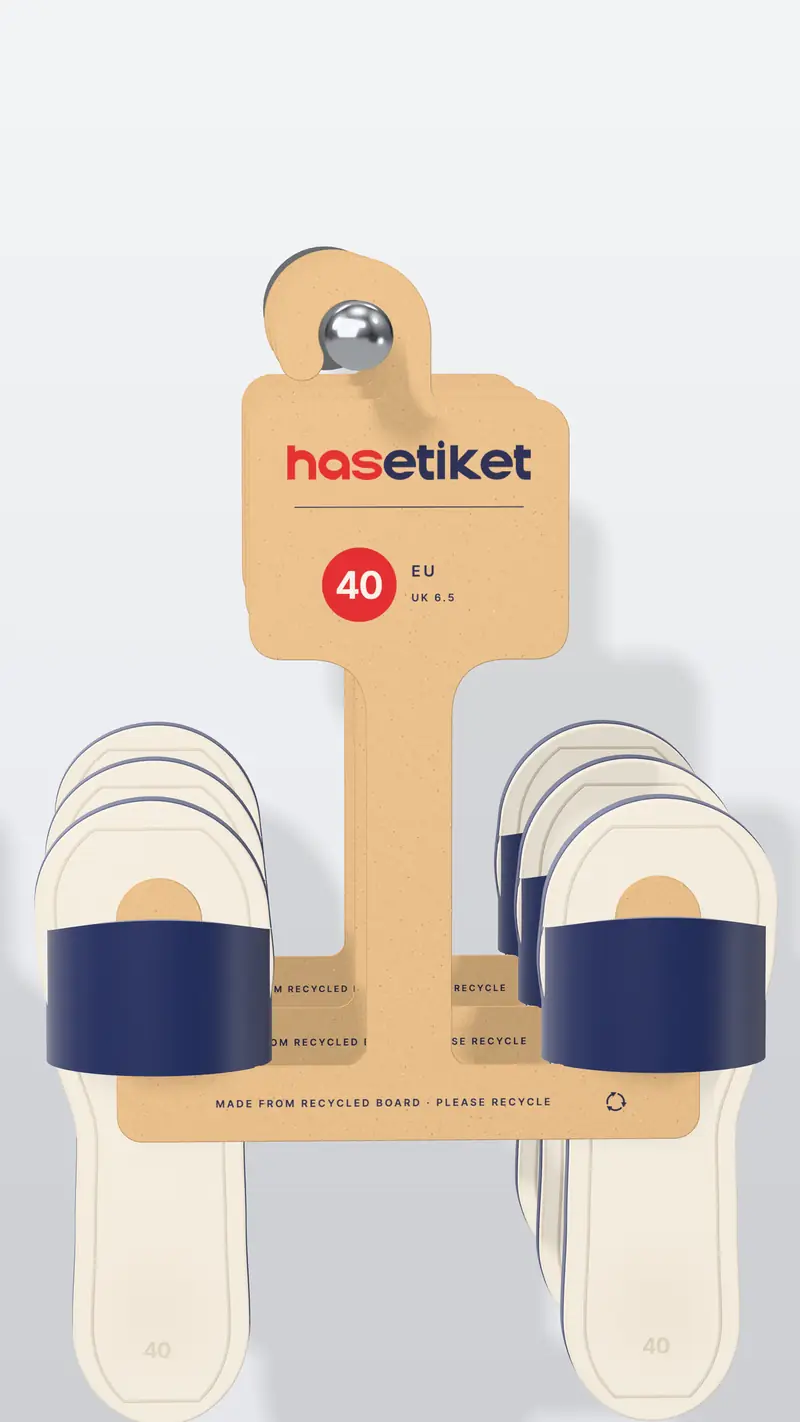
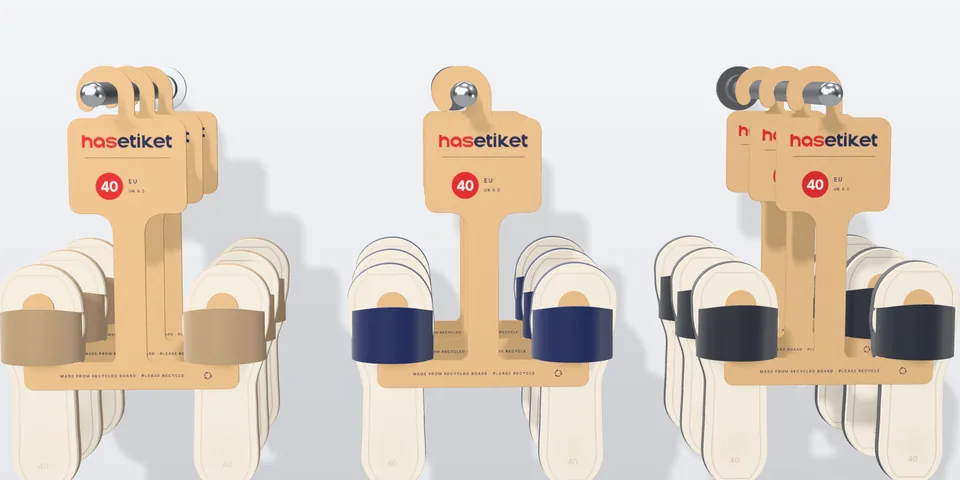
One shape for every size of a style, each printed with its own size, so the rail reads at a glance.
- 03
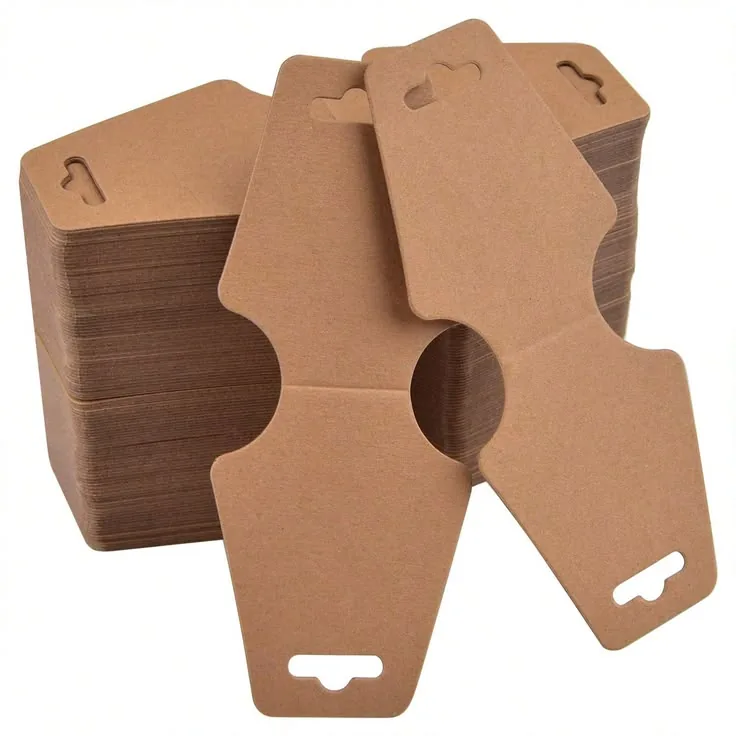
Cut and folded.
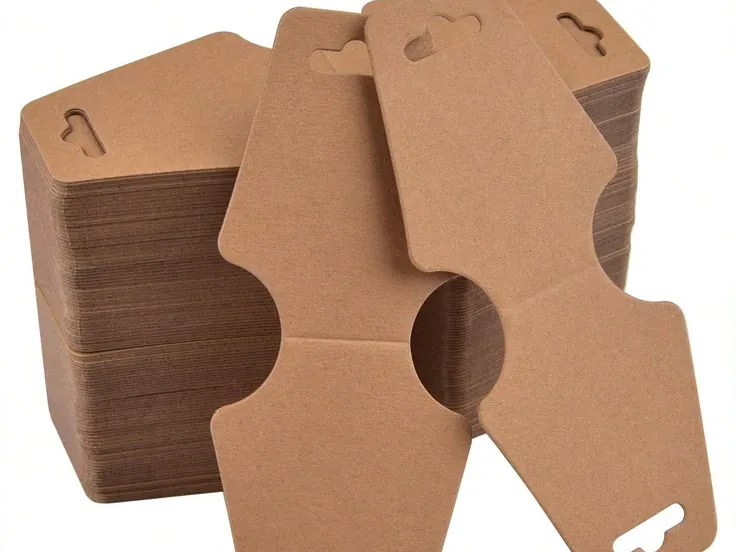
Each hanger is die-cut and its edges finished; accessory cards are scored and folded so they hang or stand.
- 04
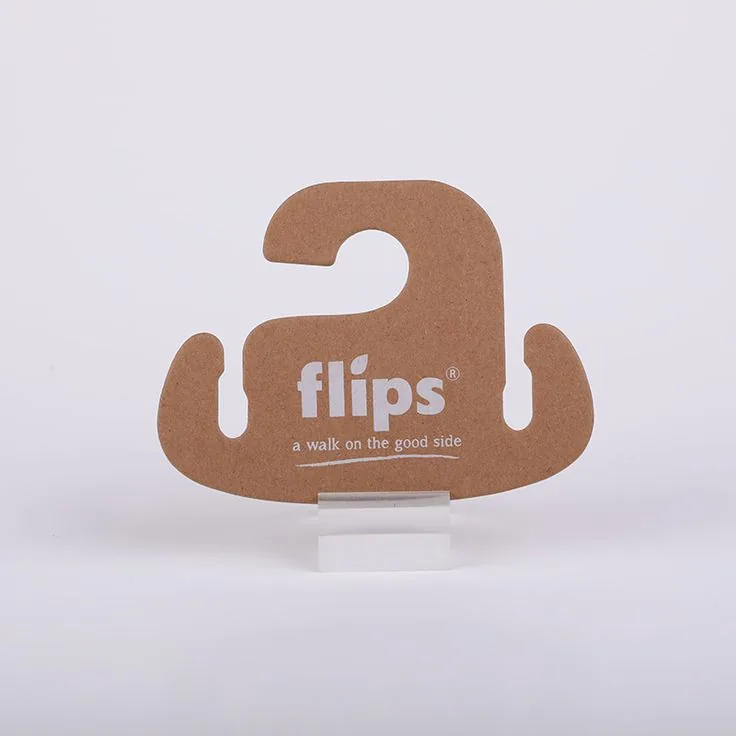
Hung and approved.
You test a finished sample with your heaviest pair before production. It becomes the standard for every reorder.